Dog ramp for a car seat

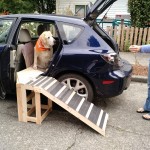
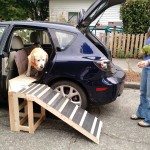
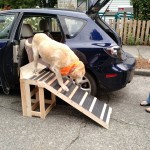
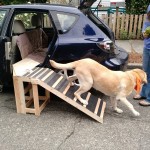
So our doggie Adele had surgery on her leg, and as a result she couldn’t get in or out of the car without being picked up. As she weighs 90+ pounds, that was a bit of an issue.  Surprisingly, there aren’t really any ramps you can buy that will lead a dog directly into a car seat – they all require going through the trunk, which won’t work for our car. So I figured this would be a perfect opportunity for a project 🙂 I measured out a set of stairs that would go up the side of the car, to the level of the seat, and then wrap around onto the seat. I thought it looked pretty cool. The whole thing breaks down into parts for storage, and can be flipped to work on either side of the car. Unfortunately Adele had other opinions. She refused to go on it at all. The stairs kind of wobbled, and they were also kind of slippery. So I ditched the stairs, and rebuilt it with a big ramp, covered the whole thing in safety tape, and added a whole other section to support the platform between the ramp and seat. In the end, it actually sort of worked. She got the hang of it and didn’t really have any problems going up or down. Of course by this point, redoing everything had taken so long her leg had healed, and she didn’t need the ramp anymore.

Global Mobile

logo1

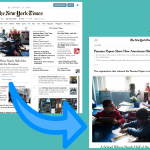
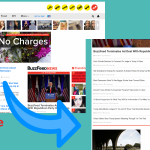
So a lot of websites have started using a pinterest-style grid layout, where there are multiple columns, each with a long list of headlines, all screaming for attention at the same time. It kind of drives me crazy. So I made a chrome extension to always display the mobile version of a page. Most of these sites actually look really nice on a phone. There’s just a single column of content, which is easy to scroll through without losing your sanity. But it can be unpleasant to read everything on a phone. So my extension displays the pages as if they’re on a mobile device, on your normal screen.

Try it out: https://chrome.google.com/webstore/detail/global-mobile/jnphbfhmpdmdhbnjheabpmkmpeeheofp

The code: https://github.com/jkoomjian/GlobalMobile

Building The Pie Box From Pushing Daisies

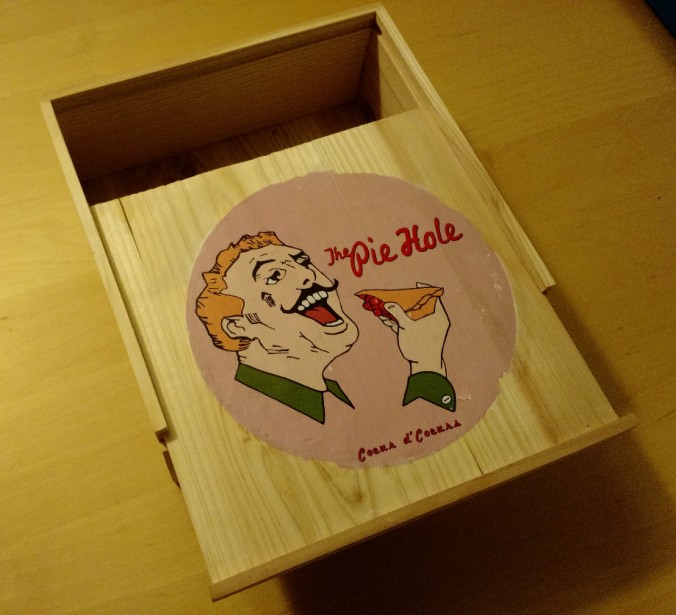
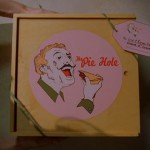
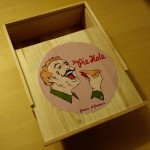
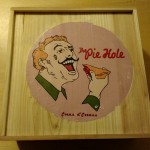
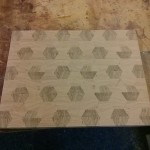
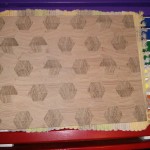
So Pushing Daisies my just be the best tv show ever. The show revolves around a pie baker and his pie shop. Cassie also pretty good at baking pies, so for her birthday I wanted to give her a reproduction of the pie box from the show. I had a pie box, so the only hard part was applying the image to it. The process looks simple enough online, but I found it to be tricky to get good results. I used Mod Podge Photo Transfer Medium. The idea is that you print out a mirror image of your photo on a laser printer, then apply the modpodge to the face of the printout, place it face down on wood, and remove the paper backing, so the image shines through. When I tried it, I kept getting white spots in the middle of the image.   Eventually I figured that some of the solution was getting onto the back side of the paper when I pressed the image into the wood. Since the paper and the solution are both white, you can’t see it. And once it dries, the spot’s there for good. After getting that straightened out, I was able to get a good photo transfer.  To remove the paper, you dampen it with a wet rag, and then rub the paper off with your fingertip. You can’t see the paper while it’s wet, so you have to remove the paper, let it dry, remove some more paper, and so on.  It’s a slow and tedious process. On the third try, I got a transfer that actually worked.

Here’s the results:


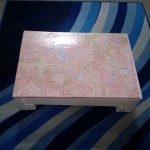
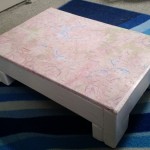
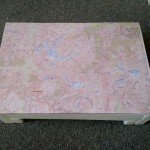
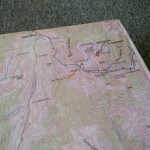
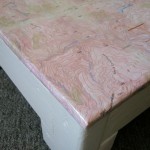
Later I tried a similar project, covering a step with an old paper map of one of our adventures. This time I used the original modpodge, and the process was much easier.  I just brushed a coat of the modpodge over the step, placed the map onto it, and brushed another coat over the map. Once it dried I covered it in several layers of polyurethane to make it water proof. So easy. The only problem is that you can still see the paper – It doesn’t look like the photo was painted onto the wood, the way the photo transfer medium does. Still, if I do another project like this, I’m going to use the original modpodge method.


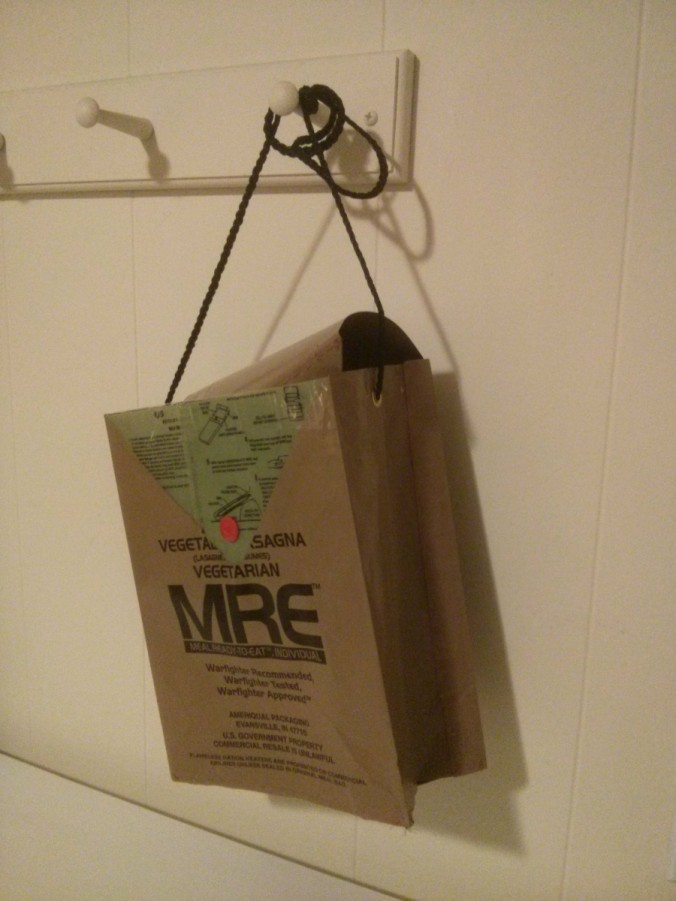
MRE Lunch Box

So a while back I ended up with a couple MREs. The disposable bags they come in are really, really strong, and it seemed like a shame just to throw them in the trash. So instead I made a lunch bag out of two of them.

Proposal house

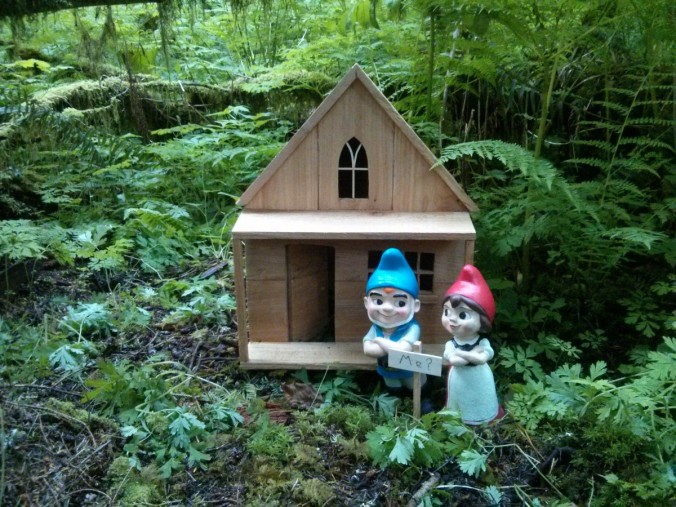
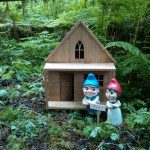
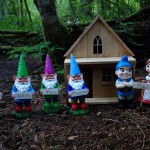
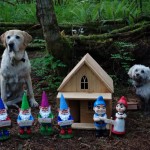
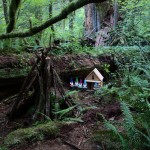
For our wedding proposal, I build a little house with some gnomes. The gnomes and the house were set up in the hobbit village in the woods at Federation Forest State Park, spread out with about 7 or 8 feet between them. The idea was that Cassie would see the first gnome, holding the ‘Cassie’ sign, walk towards it, and then see the second ‘Will’ gnome, then the ‘You’ gnome, and follow the trail of gnome  until she reached the house with the “Me’ sign. It didn’t quite work out like that. Instead, she saw the first gnome, but then saw some other interesting gnomes, and decided to take photos of those. I had to intervene to point out the next gnomes. Eventually we made it to the house. The male gnome had done a face plant into the mud since I set him up the day earlier, but otherwise everything was still there. Also, she said yes 🙂  We left the house and gnomes in the hobbit village for future visitors.

Mapping Photos On Flickr

Seattle Photos on Flickr

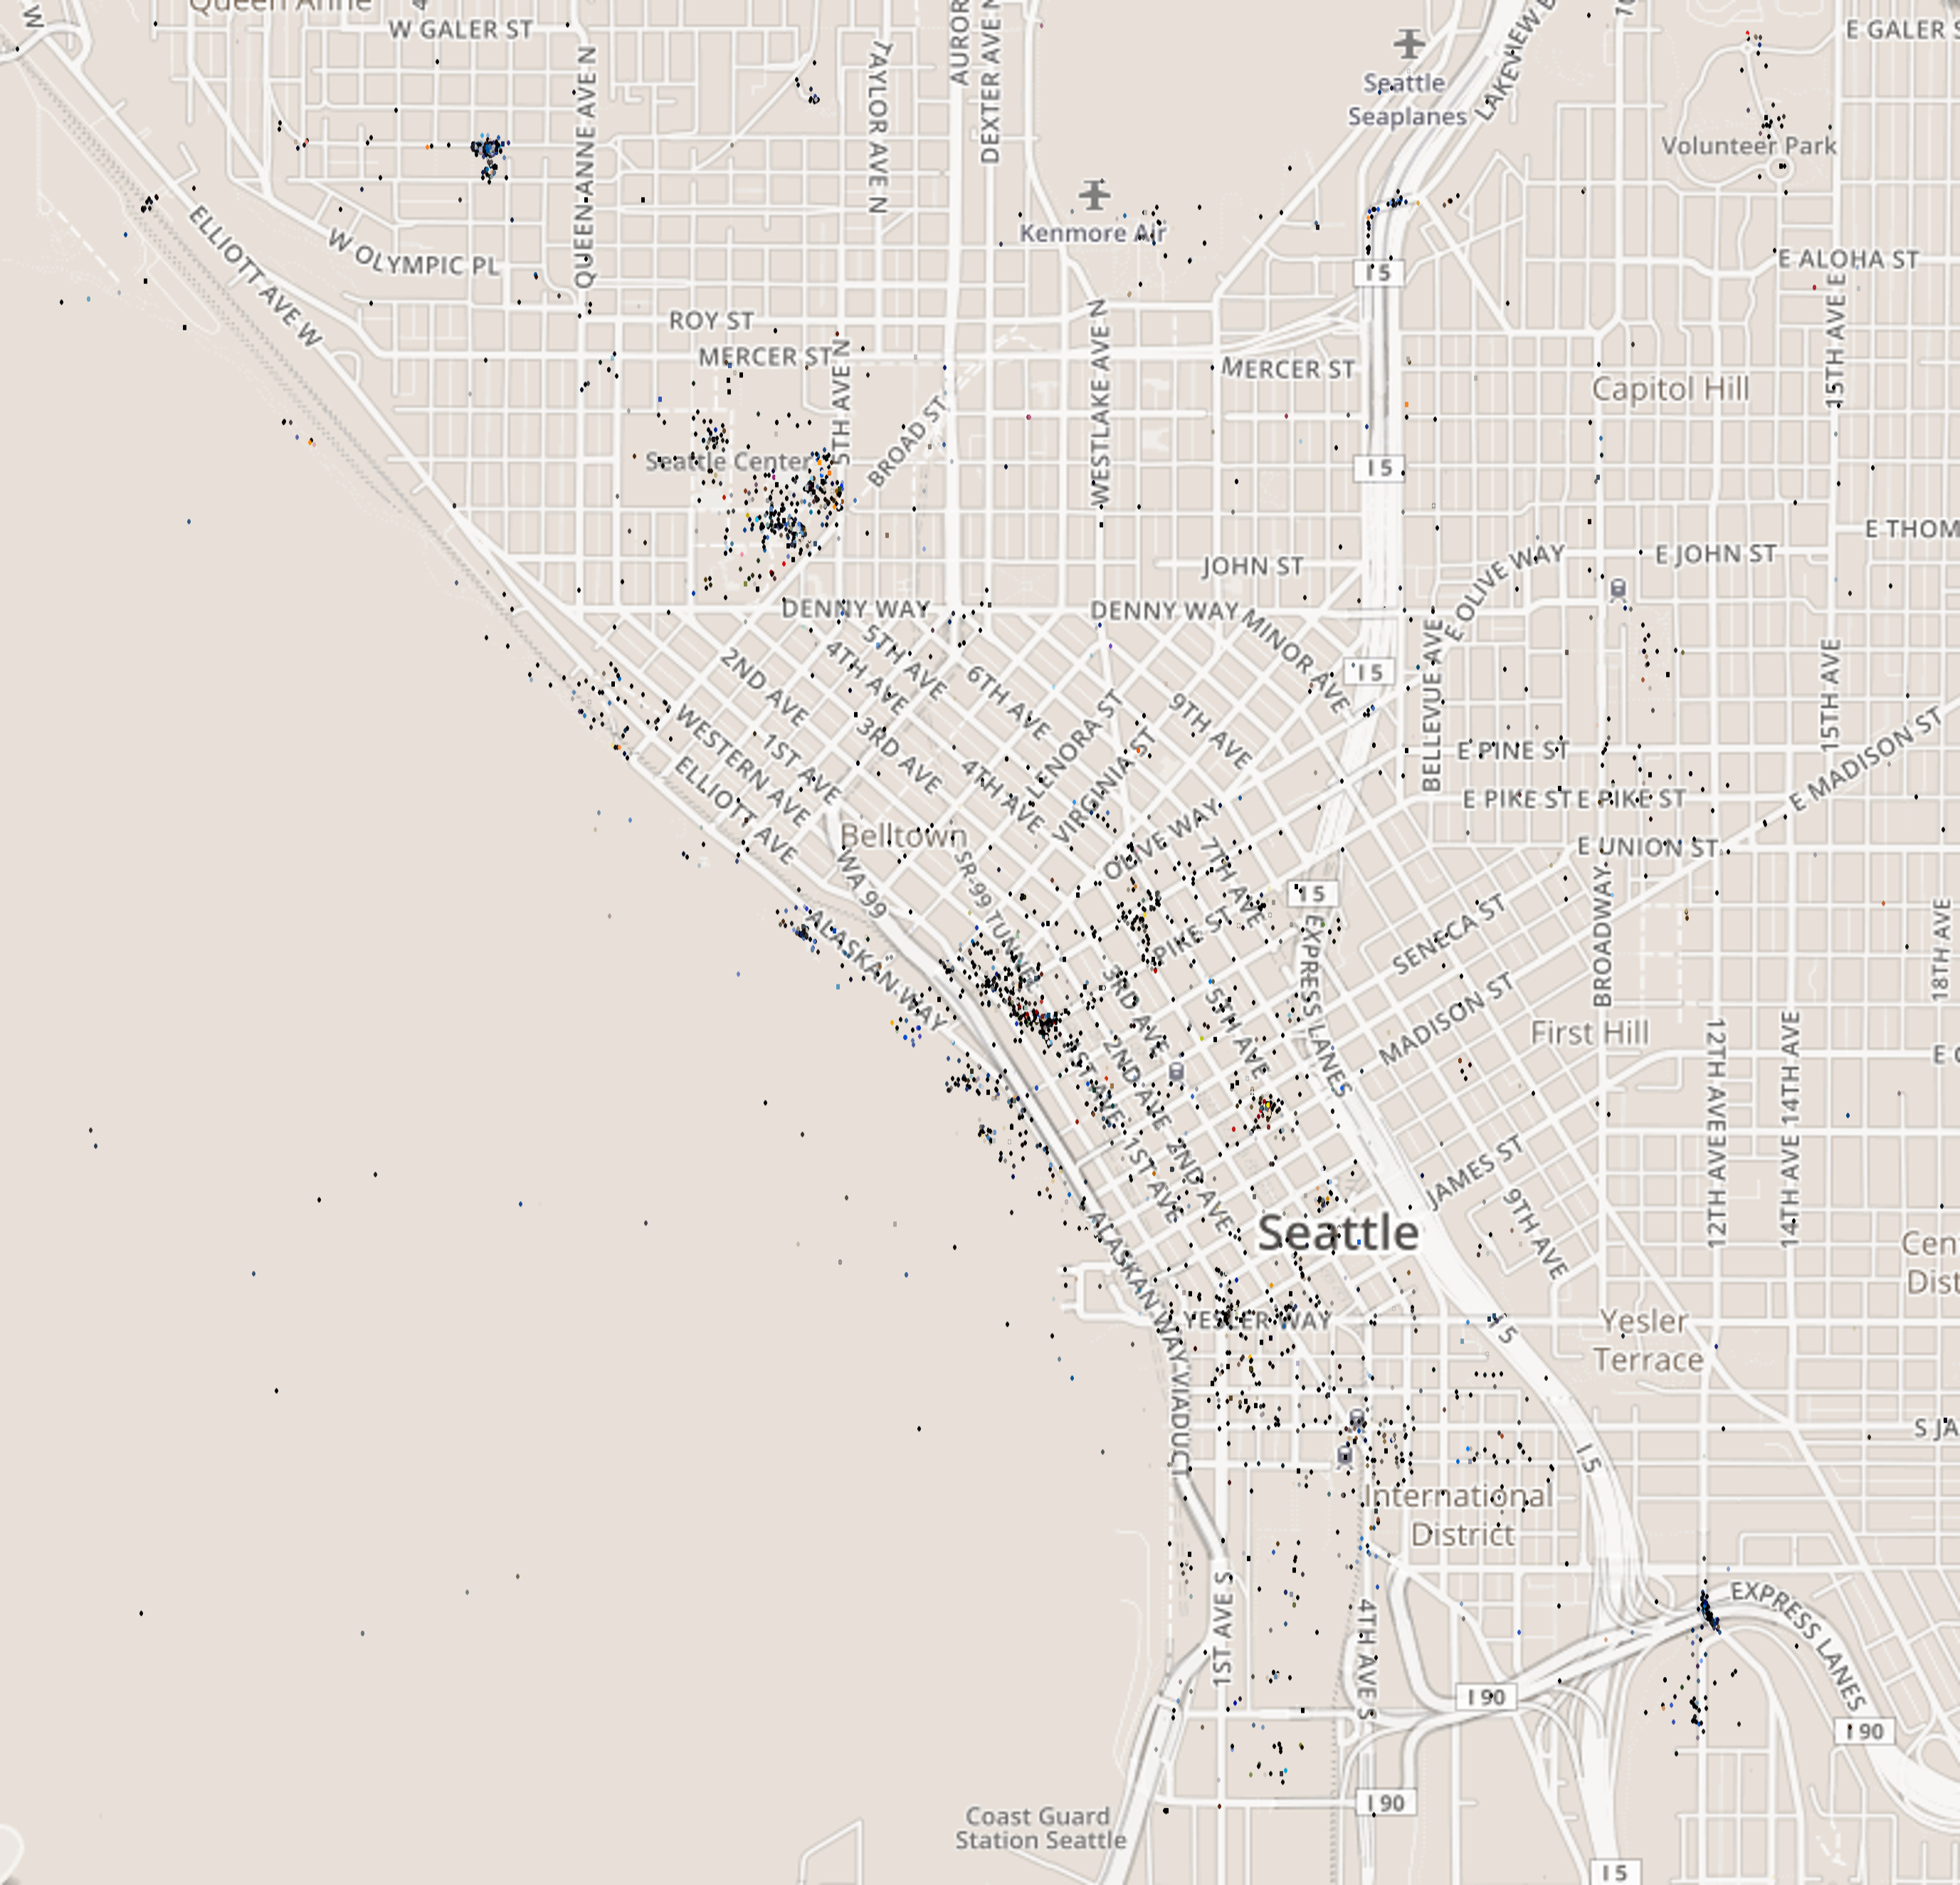
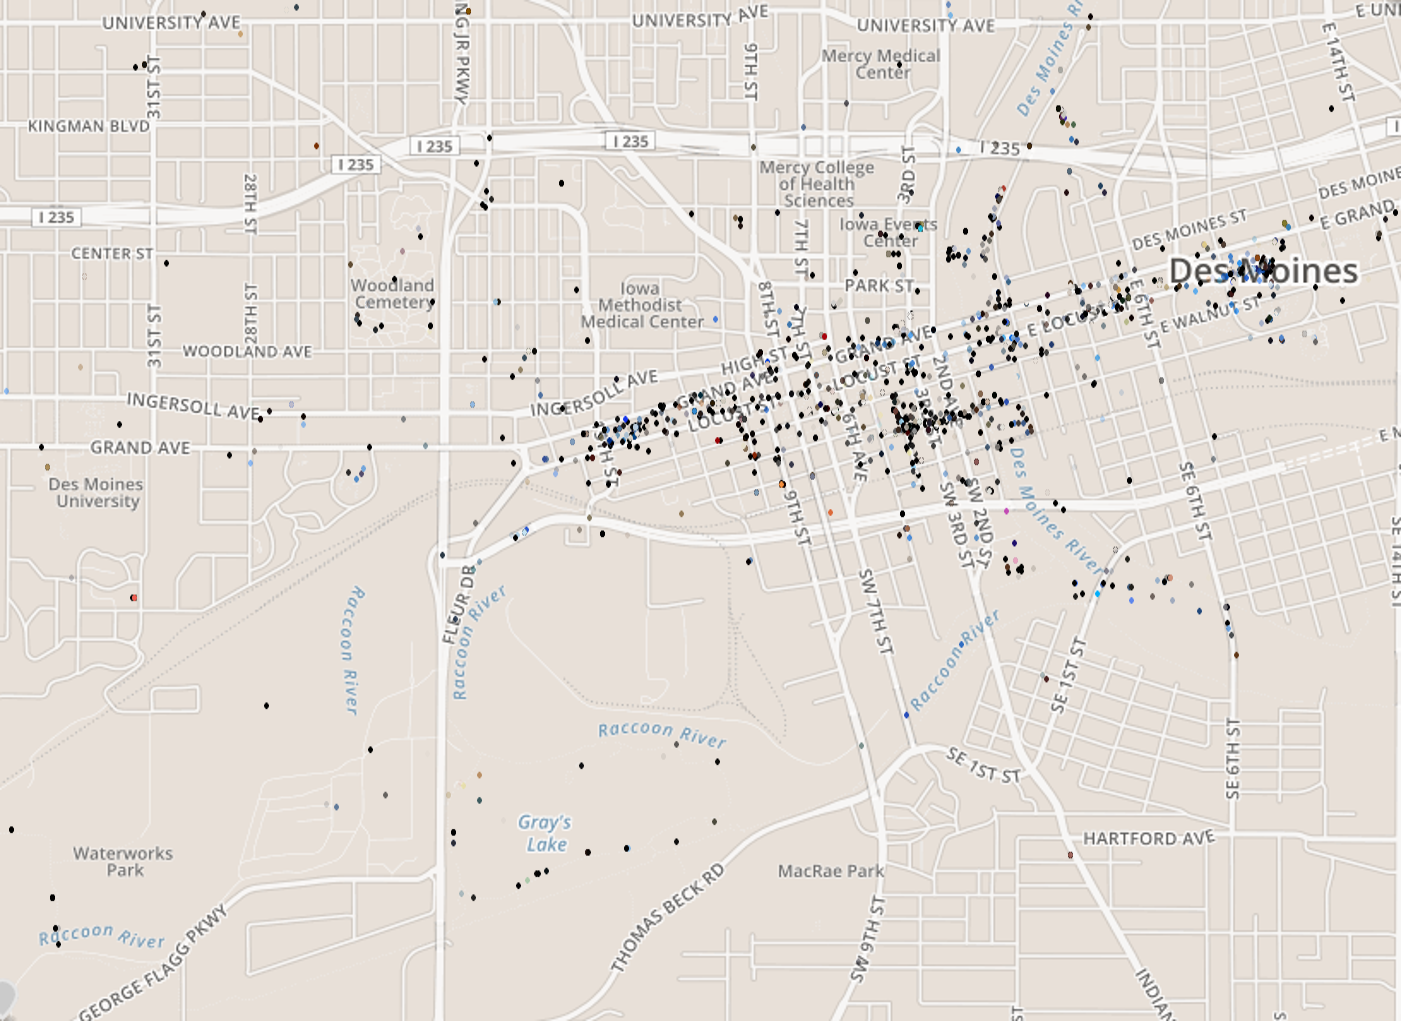
After my previous project with the flickr api, trying to detect changes in the seasons from random photos on flickr, I was curious if you could see changes in the colors of different locations. Like would the western side of Washington state be greener than the Eastern side?  So downloaded about 20,000 images from Flickr and added a dot to a map of the state at each spot where one of the photos was taken. The color of the dot matches the predominant color of the image – An image of a white house will have a white dot. As it turns out you can see a difference between the colors of Washington State – Eastern Washington has a lot of blue dots, from all the pictures of the blue sky, while the dots in Western Washington are mostly gray and black 🙁

The map is here: Washington

You can hover over the dots to see the original image

I also created maps for

Seattle

Wyoming

Iowa

Des Moines

The source is at: github.com/jkoomjian/Random-Experiments/tree/master/FlickrApi/FlickrMap

Photos of Des Moines on Flickr

Hexagon Cutting Board

IMG_20140630_155812

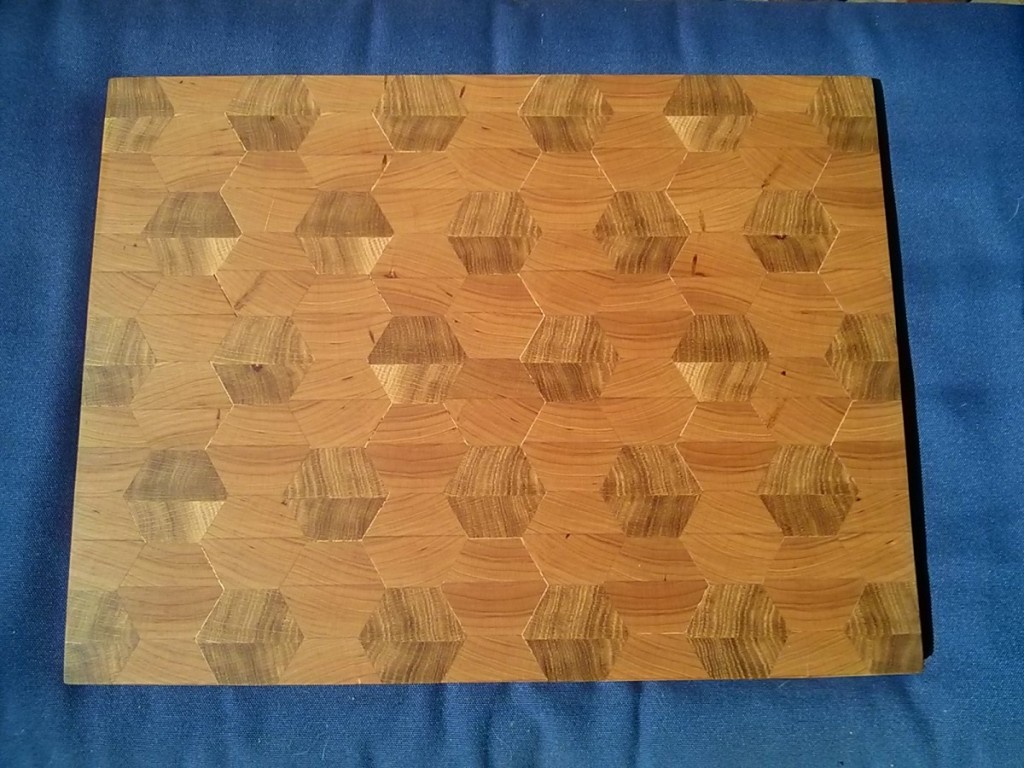
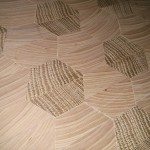
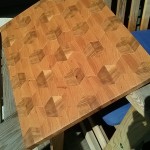
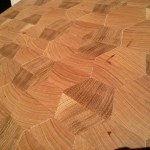
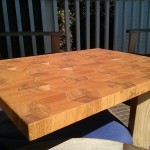
Sometimes the most ill-advised ideas have the best outcomes. That was certainly the case with my cutting board. I took a woodworking class where we were supposed to make a simple cutting board. Somehow I turned that into an idea for a butcher’s block made of hexagons. When I told the instructor, he said something along the lines of “that probably isn’t a good idea, and I can’t wait to see how it turns out”. The board consists of more than 150 pieces glued together. There are a few minor gaps, but considering all the cuts had to perfect to make the hexagons line up, I’m really pleased with how it came together.

Online Weighted Decision Matrix

Online Weighted Decision Matrix 2014-06-17 17-54-08

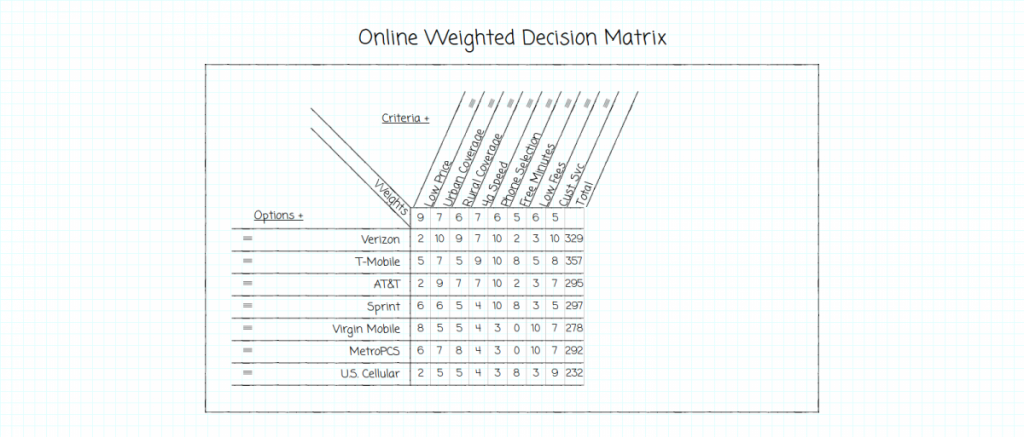
So my friend Choed showed me a technique for making big decisions called a decision matrix. The idea is that is that you list the possible outcomes of a decision and the factors that would influence your choice, and then calculate a score for each outcome.  The full rules are here: leanhrblog.com/weighted-decision-matrix/  As someone who’s kind of indecisive, I thought this was pretty useful. As someone who’s a huge procrastinator, I thought I should make an online app to automate the process before making my decisions 🙂  The result is here: jonathankoomjian.com/projects/DecisionMatrix/.

I tried to make my app look like the original decision matrix – a sheet of graph paper with a bunch of nicely drawn lines. The javascript is done with angular, and is connected to a mongodb db hosted by mongolab.com. I also tried out a bunch of new html5 features I’ve never used before, like border image, border-box sizing, and html form validation. The app works best in Firefox. Chrome doesn’t handle the drag and drop properly, but otherwise works. IE, as usual, has some issues.

The work in progress is always saved. Each decision matrix page is assigned a unique url.  Remember that url. When you load that url, your work will appear, just as you last left it.

GroupShotSync

Screenshot_2013-08-09-11-54-54

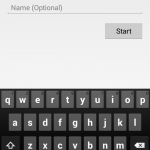
GroupPhotoSync is an Android app I wrote to compete in a challengepost.com competition.  The idea is that when you’re out with  friends, someone takes a photo of the group, and everyone wants a copy. There should be an easy, automatic way to do to share the photo. Enter GroupShotSync. Everyone in the group runs app. When someone in the group takes a photo, the photo will automatically be downloaded on to the phone of every friend in the group. The app uses gps to figure out groups of friends in close proximity to each other. Each person in the group can see the other people they are connected to, so photos don’t get accidentally sent to strangers.

The app didn’t win the competition, and I never pursued it any further.  But it did help me to learn Android programming, which is something I have been meaning to do for ages, so that is a win. The app’s complete source code is available at github.com/jkoomjian/Random-Experiments/tree/master/GroupShotSync

Bed and Nightstands

IMG_20130922_154206


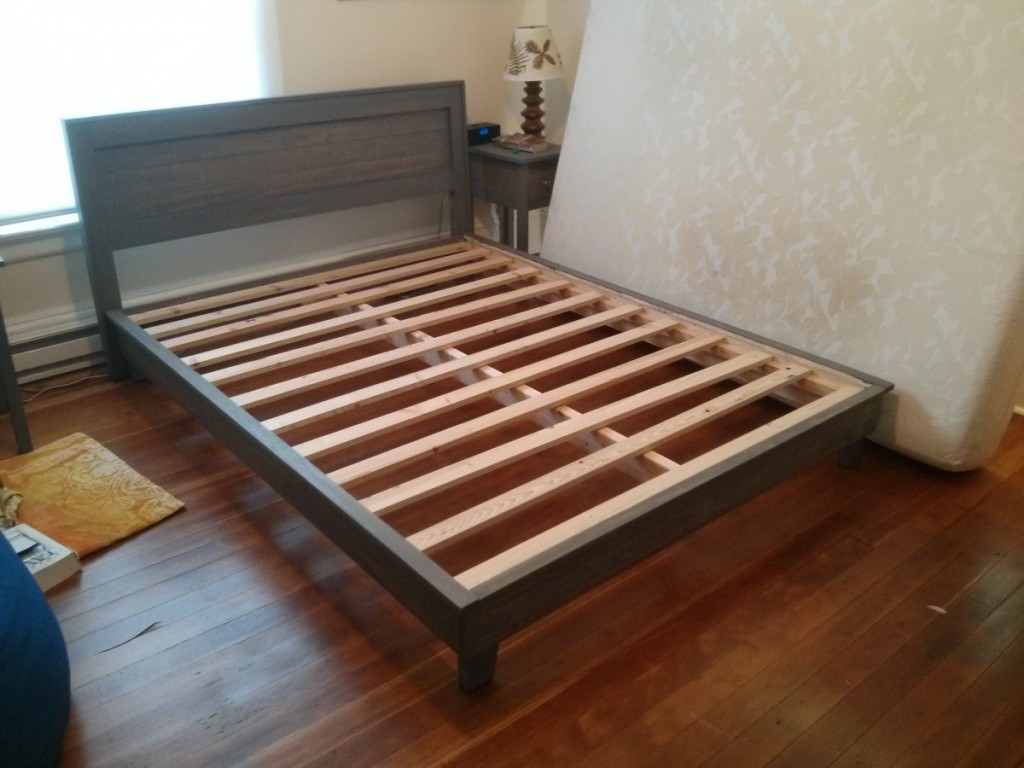
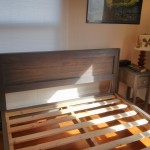
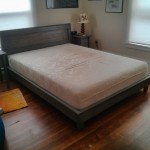
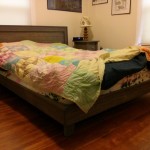
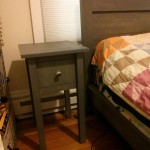
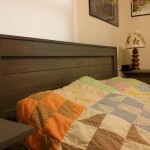
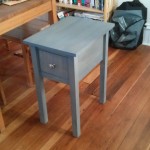
When Cassie and I moved to Seattle, we got rid of most of our furniture.  We figured it would be easier and cheaper just to buy new stuff.  But we forgot was how much of a pain furniture shopping is.  So a year and a half after we moved, our bedroom still had no furniture. – just a mattress on the floor.  Faced with the prospect of spending lots of time in home furnishing showrooms, I decided it would be better just to build the furniture.  This idea probably would have remained a pipe dream, except I found the awesome website ana-white.com, which provides plans and guidance to beginners.  Exactly what I needed.  Eventually I got a circular saw and some wood and built two nightstands and a bed with a headboard to fill out the room. I didn’t really know what I was doing when I started, so a lot of things aren’t quite right, but over all the nightstands work really well and the bed has not collapsed, so I’m happy with it 🙂

« Older posts

© 2025 Jonathan's Projects

Theme by Anders NorenUp ↑